To apply an SD template, the SD Templates option must be selected in Ignia Framework menu.
From each line of SD templates an image is shown, the name and a brief description of it.
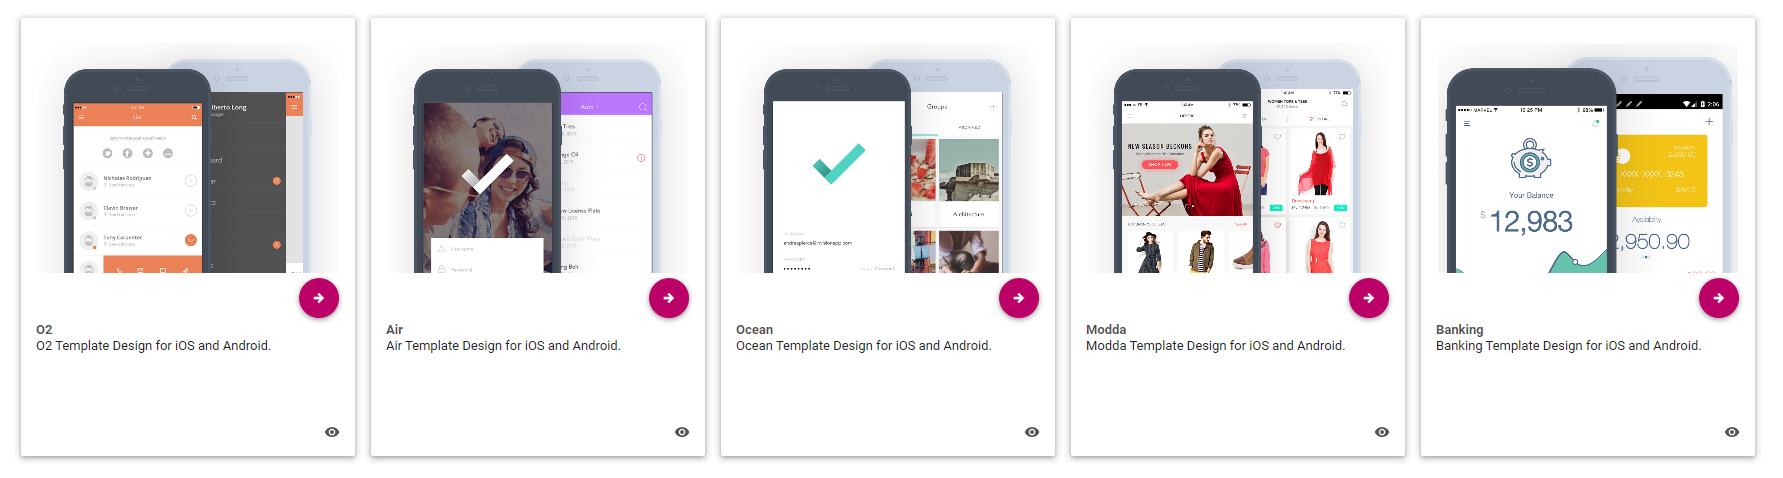
If you select one of the lines, it will take you to the section that presents all available SD Templates of the selected line.
To add a SD template is selected in the check box that is in each one, for which you will see a tick that shows your selection.
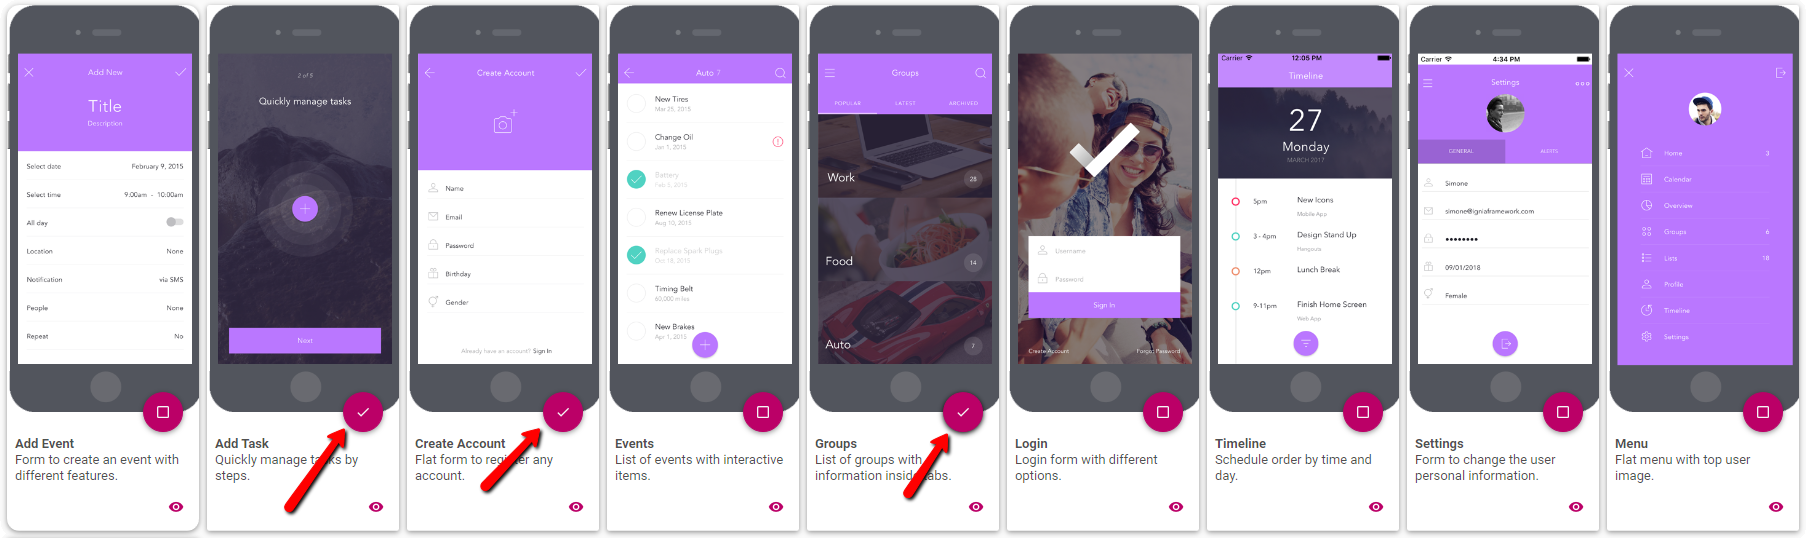
In order for Ignia to add the SD Templates that you have selected to your KB, you must click on the button located in the lower right corner, as shown in the image below.

The selected Templates will be installed to your KB.
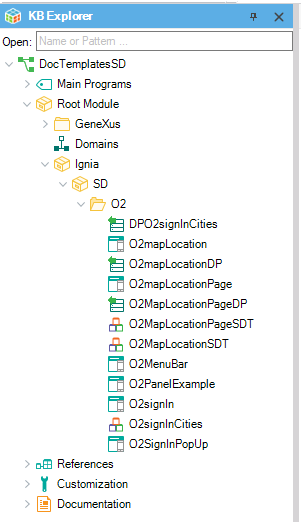
After completing the installation process, you can find them in the GeneXus Folder View, where you will see a Module with the name of Ignia inside where there is another module with the SD name and folder that bears the name of the line that you have downloaded.
This mode makes it easy for you to download all the templates you want and be centralized in one place, and also if you have other objects created in your KB, they are not overwritten.
You can also see that theme and color palette has been created with the name of the line.
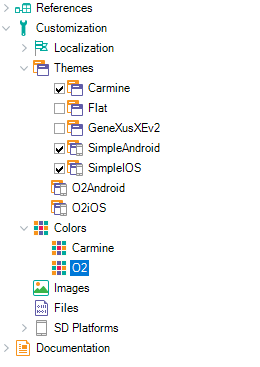
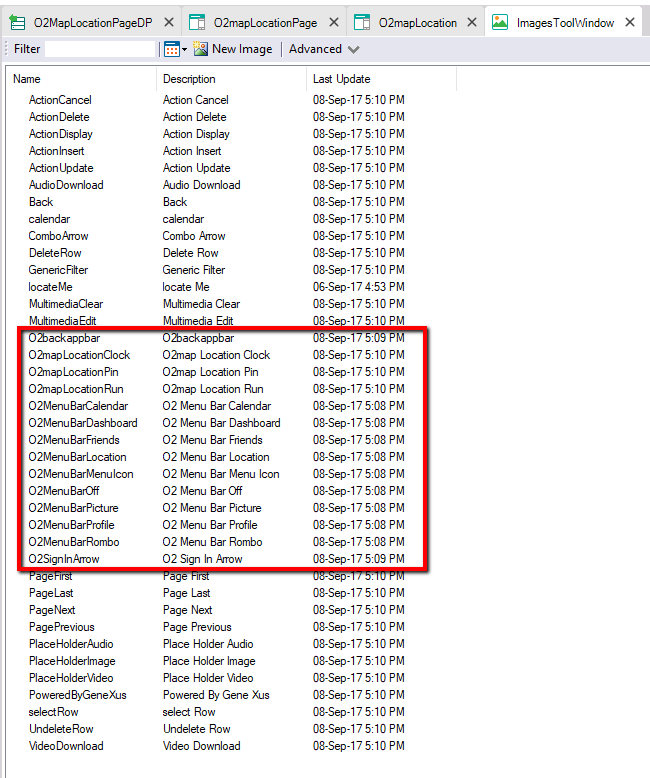
And if you go to Images you can see the images that have been imported, prefixed with the name of the template.
Remember to verify that the Theme used is the one that is in agreement with the SD Template selected.
If you want to modify a Panel, it is recommended to make a "Save as" of it, so there is no risk of changes being overritten when the same SD Template is downloaded in the future.